The Evolve Timber PDFs

The smart Trick of Evolve Timber That Nobody is Discussing


A slim pad is laid in between the subfloor and wood flooring. The pad shields against dampness, reduces sound, and includes "R" worth. Wood glue is spread on the tongue as well as groove of the slabs - https://ev0lvetimber.jimdosite.com/. This holds the planks together as they float over the subfloor. This item gives you the look of wood with the advantage of being able to use it in any kind of space.


Much like hardwood, it is not recommended for restrooms and also utility room where water may spill - flooring sunshine coast. Engineered wood slabs are made of real wood integrated with a medium-density fiberboard core. The core makes this material more stable than solid hardwood, so you can use it anywhere in the house, including the cellar.


If you are thinking of mounting your brand-new flooring on your own, read all instructions and also make sure you acquisition or lease all essential tools. Here is a price quote on the time it takes an expert to finish installments: Tile Flooring (restroom): 2-3 days on a prepped and also clean floor Laminate Tongue and Groove: 1-2 days in a big area Wood Floor: 2-3 days Peel as well as Stick Floor covering: day depending on room size Rug: 2-3 hrs for an ordinary size room If you do not typically carry out installations, it might take you longer to finish the task.


The smart Trick of Evolve Timber That Nobody is Talking About


When working with a handyman to do the job, make certain you examine their referrals. When having actually flooring mounted, you need to have the location all set to install when they show up. To make sure there are no misconceptions, the installation order needs to list that will certainly be moving furnishings and also devices.


Realize that brand-new flooring will certainly elevate the degree of your flooring concerning 3/8." Floor covering suppliers have shift thresholds that will certainly enable the adjustment of different flooring heights in between areas. New flooring height may also interfere with the swing of doors. If you have floor-length blinds or drapes they might touch the new flooring.


Floor covering installment produces dust and waste. Floor covering installation tools are harmful. Be home on the day the flooring is set up in case there are inquiries.


4 Simple Techniques For Evolve Timber


When thinking about the mistakes that can be made when reducing, cutting, and also installing pricey floor covering, it makes sense to use a business that provides a "Neighborly Done Right Assurance." If there is any type of issue with their workmanship or items they marketed, they will certainly make it. Flooring setup is a difficult, time-consuming process.


Handyman installers have a standard of 10 years of experience and are fully insured. For your comfort and protection, they arrive in a van that is clearly marked using a Mr. Handyman attire.


How Evolve Timber can Save You Time, Stress, and Money.


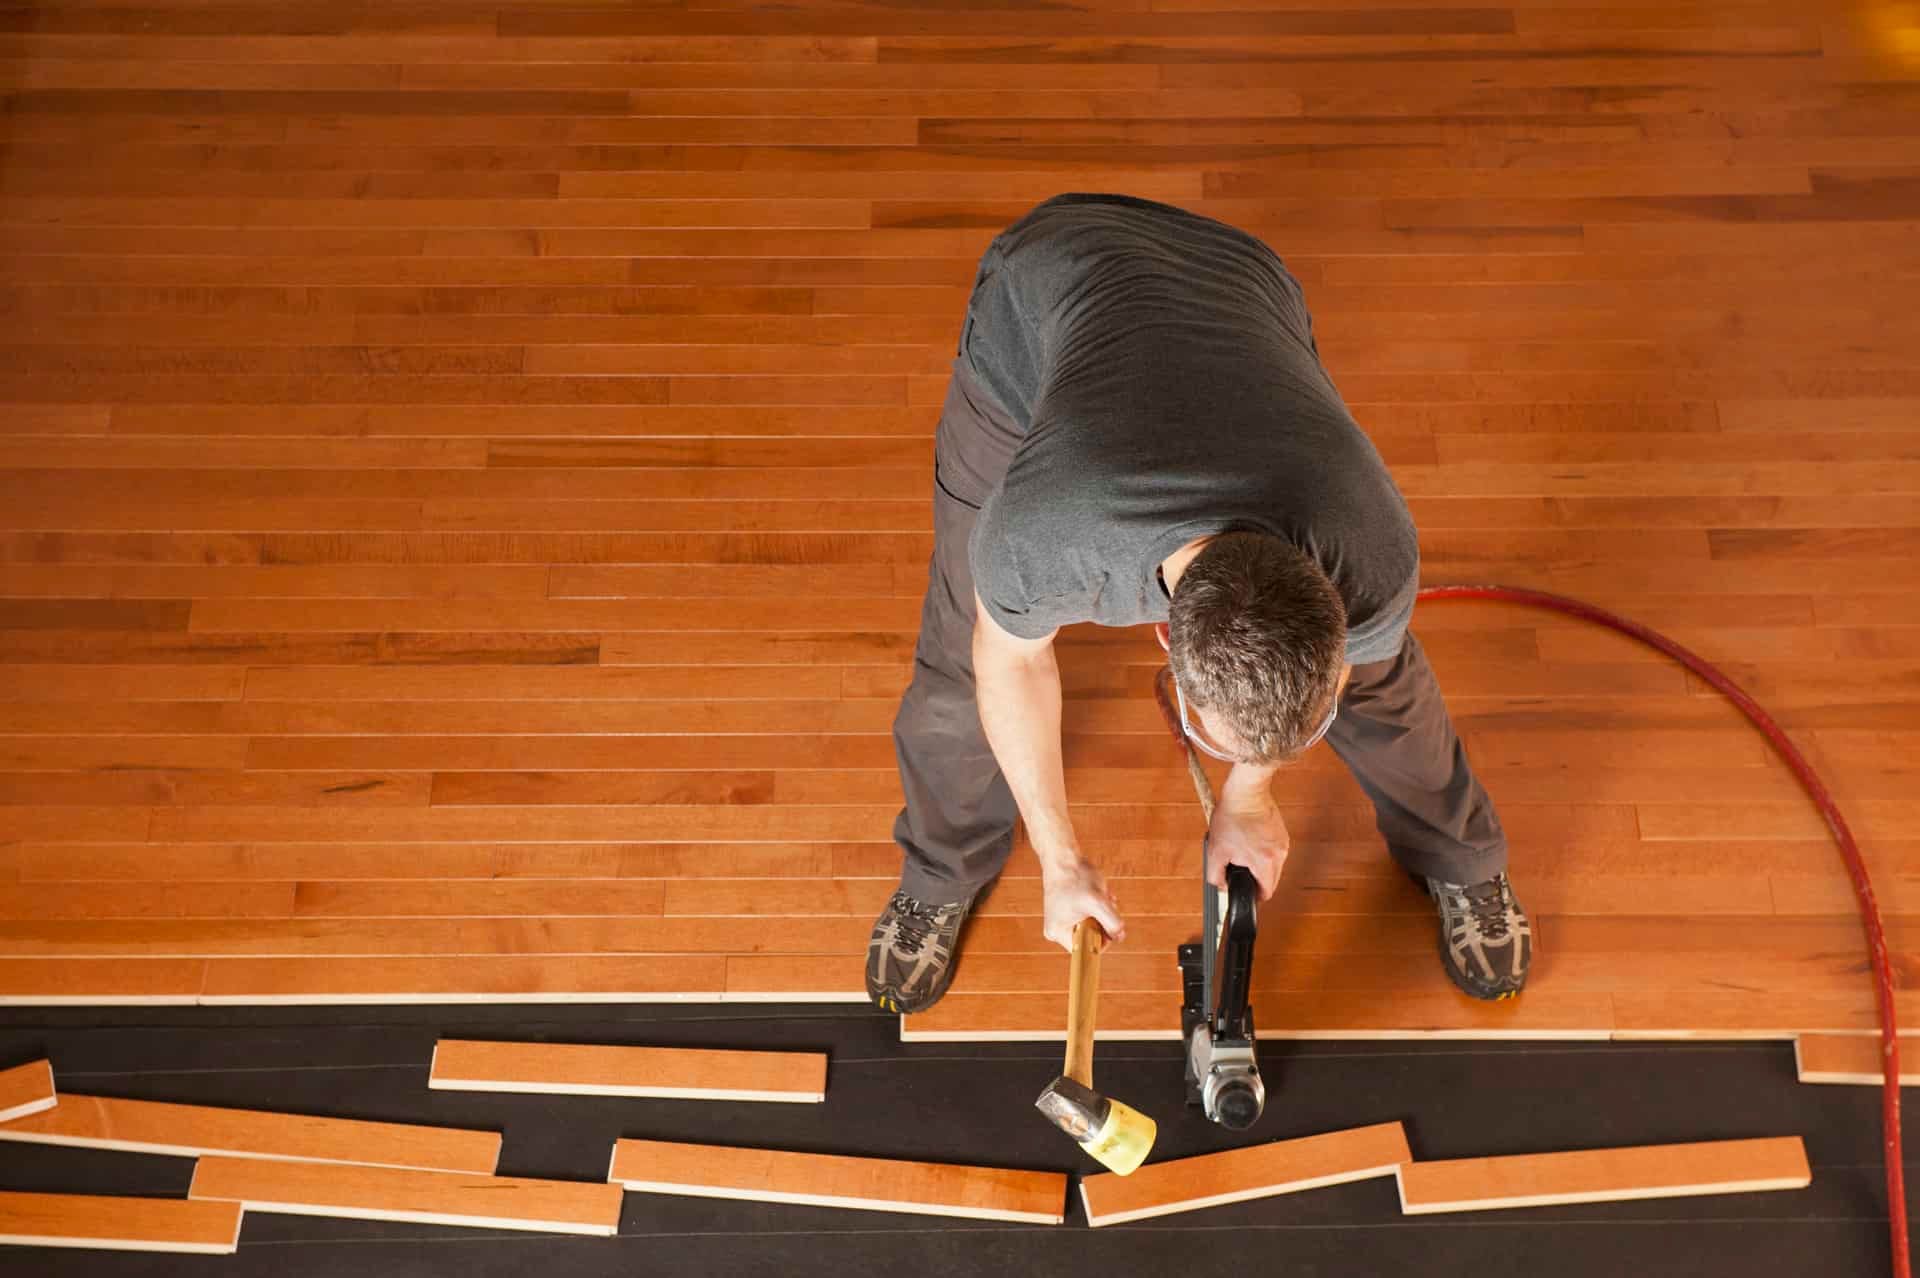
Prior to starting the installment process, see to it you have all the tools you need. This includes a hammer, nail gun or stapler, determining tape, chalk line, saw, spacers, as well as safety and security equipment such as goggles as well as ear defense. The initial three tools won't be required in the instance of prefinished or engineered wood flooring.


It's crucial to leave a little gap around the edges to enable development and tightening, which is usually official source 10-15mm. This step can be skipped when utilizing prefinished or engineered wood floor covering. Begin the setup process by positioning the first board along the lengthiest wall surface, with the tongue side facing out.


Engineered Timber FlooringTimber Flooring
Hardwood flooring has a natural propensity to expand and also contract with modifications in moisture levels. Make use of spacers to make certain there is a growth gap between the floor covering as well as the wall surface. This gap must go to least 10-15 mm to suit the expansion of the boards. 10mm is the suggested worth for dry areas such as indoor Australia while 15mm is optimal for seaside regions with greater moisture.


3 Simple Techniques For Evolve Timber


This produces an extra all-natural and visually attractive look. Construct the first 2 rows in a staggered development. This offers a structure for added rows. The initial two rows can be set up far from the wall surface and afterwards slid right into position with the spacers installed along the wall as well as at the ends.


If it is not long sufficient, a new plank will require to be cut to begin the third row. Mount the very first plank of the 3rd row by turning the long join into setting as well as setting up the 10-15 mm spacer at the beginning of this row. Continue setting up the flooring delegated right using the off-cut from row three to start row four.


In some circumstances, completion joint can be rotated into setting initially and after that the lengthy side "rolled" into placement (angle as well as angle method). Continue setting up the floor entrusted to right. The last row will need to be cut to fit using a jigsaw and also brought into location making use of the pulling iron.


Evolve Timber Can Be Fun For Anyone


This space will be covered last of all.


Flooring Sunshine CoastTimber Flooring
Learning just how to install laminate flooring is an excellent job for DIYers as well as can promptly aid update your home. You can conveniently lay do it yourself laminate floors in almost every room in your residence, including kitchen areas, since it does not have to be glued down and doesn't involve cement or mortar. Planks can be cut with a hand saw, circular saw or floor covering cutter, so you don't require lots of tools.


From how to cut laminate floorings to exactly how to lay laminate floorings, this guide will cover the basics of how to mount laminate flooring in any type of area of your home.


Tile Installation San Antonio Can Be Fun For Anyone

Tile Installation San Antonio Can Be Fun For Anyone


As soon as you have actually finished laying ceramic tile, allow the thinset dry for 1 day prior to grouting.


Prepare your space for grouting by cleaning off any excess thinset squeeze out as well as in grout joints. An energy blade functions the finest to clean up out the grout joints.


Start applying your grout with a cement float. Hold it at a 45 angle while likewise coming at your grout line diagonally.


8 Easy Facts About Tile Installation San Antonio Shown


Make sure to complete the joint completely from leading to base. We such as to suggest alternating grouting as well as cleaning and switching back and forth every 1030 minutes depending on the kind of grout, temperature and various other aspects. That's why it is essential to find out the open time. Take care not to utilize excessive water when tidying up as it can leach the pigment out of the grout as well as lighten the shade.


It is much easier to apply cement only to the joints of a large-format floor tile whereas a little mosaic will need to be practically completely covered to fill out all of the joints. As soon as you are completed grouting, it is most likely that a cement haze will base on the surface of the ceramic tiles.


Let the grout set up for a few hours, as well as after that use a suggested grout haze eliminator and also a dry or nearly completely dry sponge or dustcloth. Come at the cement line at a diagonal to avoid eliminating grout from the joint.


How Tile Installation San Antonio can Save You Time, Stress, and Money.


Grout fills up the rooms in between the ceramic tiles. Like paint, cement can come in a range of shade options that match or complement your tile.


Mix grout according to package instructions. After the grout prepares, spread it in brushing up arcs with the rubber grout float held at a shallow angle. Apply at a 45-degree angle to the rooms in between ceramic tiles to avoid the float from pressing right into the rooms as well as developing irregular cement surface areas.


tile installation san antoniotile installation san antonio
After the cement is spread, remove the excess with a cement float held at a 45-degree angle. Haze the cement two times a day for 3 days to gradually cure it.


The Main Principles Of Tile Installation San Antonio


Nearly all concrete grouts have latex polymer in the powder mix. Others require a latex polymer admixture. For joints 1/8-inch to 1/2-inch, utilize sanded cement. For joints up to 1/8-inch, utilize non-sanded cement. Adhere to the ceramic tile supplier's recommendations. If there are spaces in between the floor tile and the wall surface, make sure to load the space with caulk to keep water from obtaining under the floor tile or right into the wall.


It likewise won't crack and also can be replaced conveniently. While you can likewise fill up the spaces with mortar or cement, it is not as adaptable, water resistant or simple to repair as caulk.


3 out of 5Moderate, Laying ceramic tile can be difficult on the knees as well as back $4 to $8 ordinary cost per square foot, Joe Ferrante has actually been laying ceramic tile for 30 yearsmany of them for This Old Houseand after all this time around, he's still enamored with the product - tile installation san antonio. "I love ceramic tile," he says.


Tile Installation San Antonio Things To Know Before You Buy


Image tile installation san antonio by Gregory Nemec Strive for a design that optimizes the number of entire ceramic tiles and the size of any type of cut tiles. When awkwardly sized floor tiles can't be avoided, put them where vanities will cover them later on or out of the major sight lines from the entrance. You shouldn't step on any kind of ceramic tiles till the thinset has healed for at the very least 1 day.


The line going across at the room's center are the beginning factor of the tile. Lay a row of ceramic tiles along a straightedge extra than midway across the room.


tile installation san antoniotile installation san antonio
This row determines the size of cut floor tiles along the walls. At the space's facility, position a tile where the chalk lines go across with its sides touching the lines. Measure from one wall (telephone call it A) to the nearest floor tile edge - tile installation san antonio. Now, most likely to the floor tile row and, starting at a joint, procedure along the row and also mark the distance you simply gauged.


All About Tile Installation San Antonio


tile installation san antoniotile installation san antonio
If that dimension is much less than 2 inches, return to the center ceramic tile and relocate it far from wall A to produce a larger cut tile. Photo by David Carmack From the center tile, measure to the opposite wall surface (call it B; mark this range along the ceramic tile row.


After changing the A-to-B line, mark the center floor tile where it touches the chalk line in between the various other walls (call them C as well as D). Align these marks with the C-to-D chalk line. Repeat the measuring and readjusting procedure for walls C and D. Lay a straightedge alongside the C-to-D line and also against one side of the center floor tile.


Mix just as much thinset as you can utilize in 2 hours. With the level side of a trowel, spread a slim layer of thinset (scrape coat) over a 2-by-3-foot location next to the straightedge. Before the scrape coat dries, use even more thinset using the scratched side of the trowel.


1 2 3 4 5 6 7 8 9 10 11 12 13 14 15